Thank you Luke and Mike for the input. I really considered pleather at one point, but that would be for the Cad Bane Evening Wear line, which I have been told I have to be approved before I can start building!! LOL
Anyway, today's update is brought to you by Frustration and Not Being a Quitter!
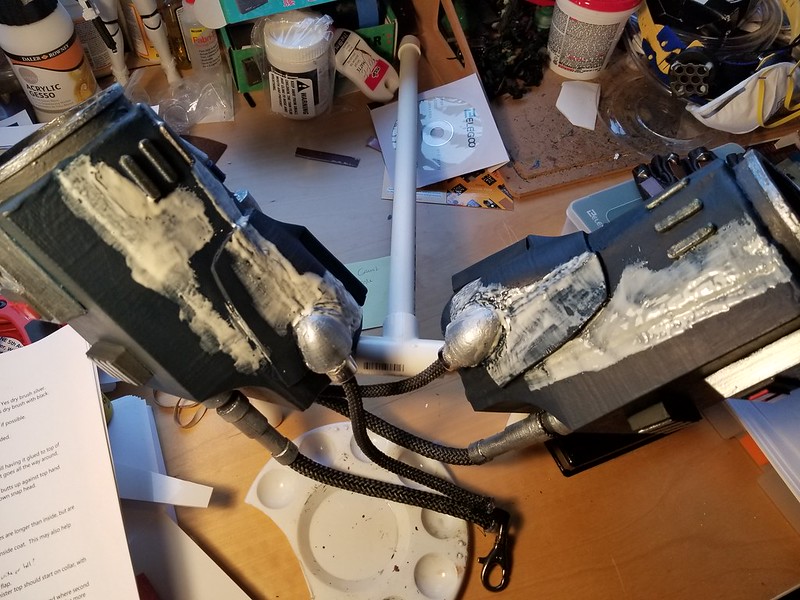
So, when we left off, the painting was done but I was really unhappy with the transitions between the materials and the areas that were just not looking good. In an effort to resolve these problems, I initially turned to wood glue. I spread it on like so:
 20180206_162527
 by
Michael Halstead, on Flickr
and when it dried, it looked pretty darn good, but there were new transition points now, so I thought, well, maybe I need to use more! Note to self and to other builders, don't ever do this... So, mistakes were made:
 20180207_135503
 by
Michael Halstead, on Flickr
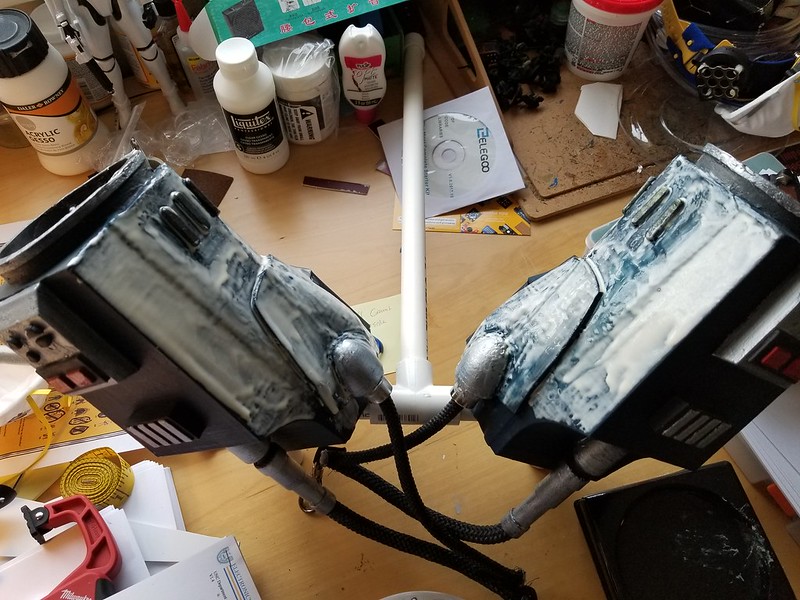
Once dried, the initial transition points were looking pretty good but the rest were a complete mess:
 20180207_184111
 by
Michael Halstead, on Flickr
So, I sanded and I sanded and I sanded and it just didn't seem to make them better. I took a break and had a good cry and then I sanded some more. Came up with this:
 20180207_190205
 by
Michael Halstead, on Flickr
 20180207_190214
 by
Michael Halstead, on Flickr
 20180207_190226
 by
Michael Halstead, on Flickr
 20180207_190233
 by
Michael Halstead, on Flickr
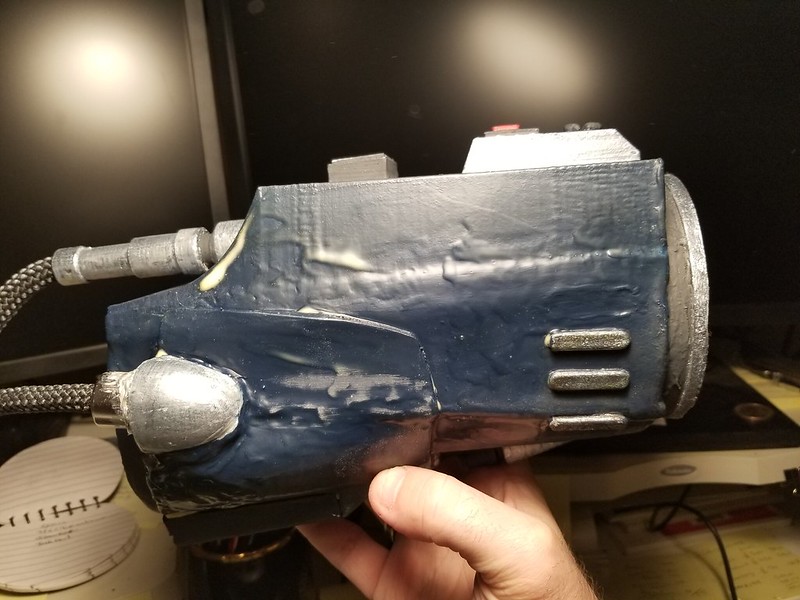
We'll call these the measles version of the gaunts. Not anywhere close to where I would consider them ready for submission. Too bumpy and just not something I'm proud of.
So, I considered bondo, but damn, I was tired of sanding. I considered other options, but now that they were a total mess, I really just wanted to hide what I had done. I had been holding off on using worbla because it is so expensive, but then I thought how stupid I was that I was holding up a build this expensive because of $30 in worbla. So, I started brainstorming how I would make new sides. I cut out some like so:
 20180208_105658
 by
Michael Halstead, on Flickr
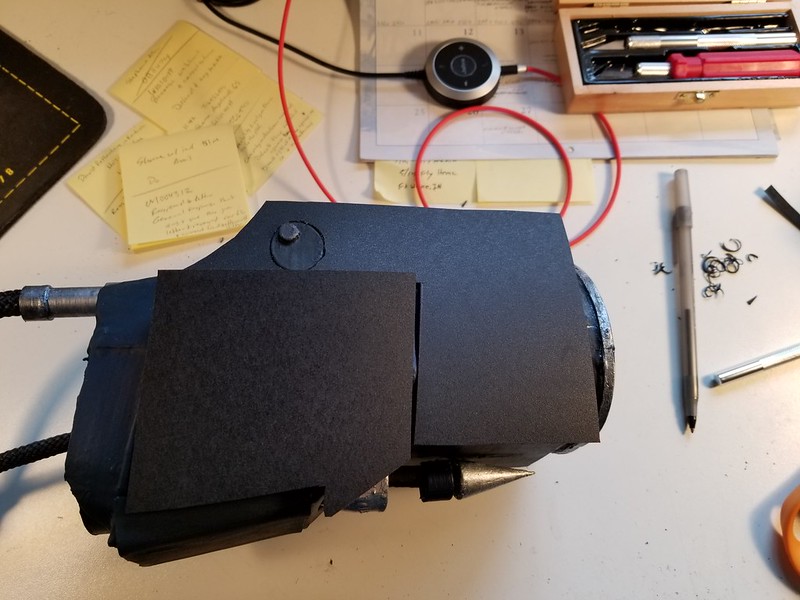 20180208_105715
 by
Michael Halstead, on Flickr
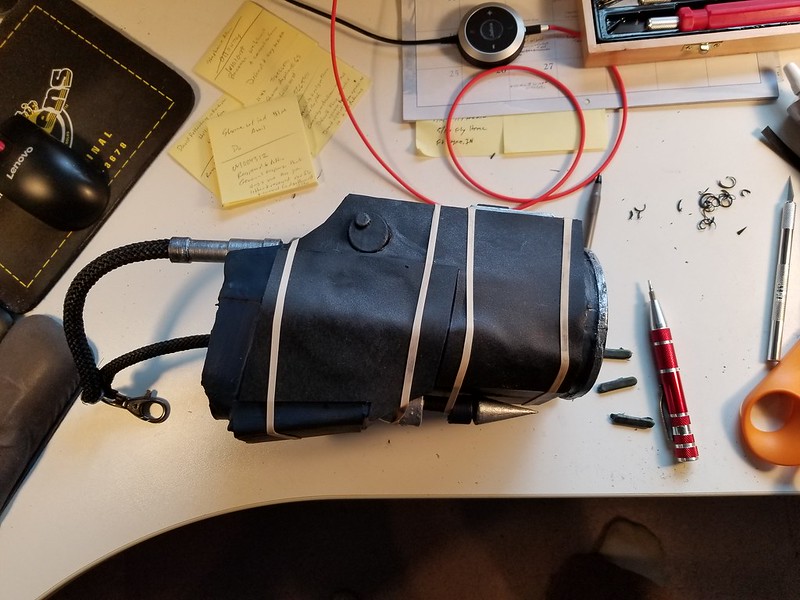
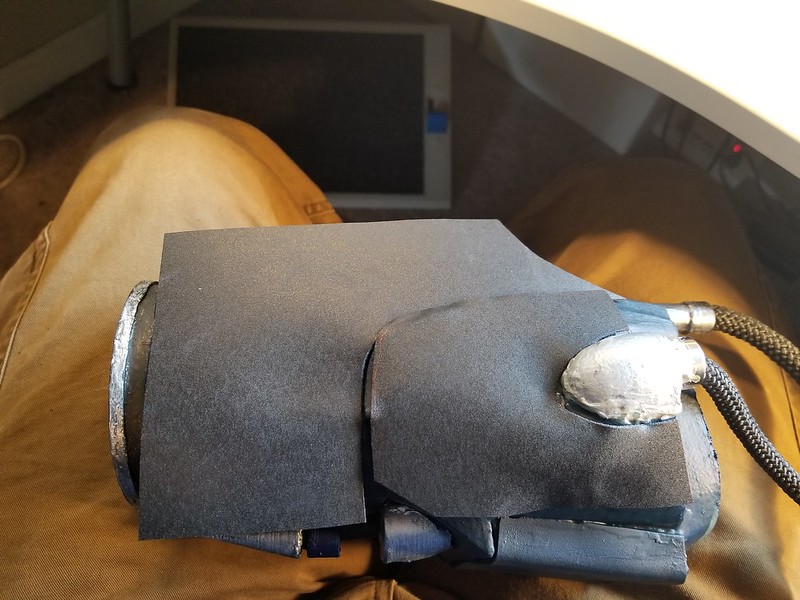
I then added E6000 to give it some adhesive and then very carefully around the edges I heated it up and formed it.
 20180208_111015
 by
Michael Halstead, on Flickr
I was very careful to not hit the middle so that it wouldn't just lay flat on the bumps and be another problem. And so, I ended up with this:
 20180208_144700
 by
Michael Halstead, on Flickr
So, I did the other side:
 20180208_145945
 by
Michael Halstead, on Flickr
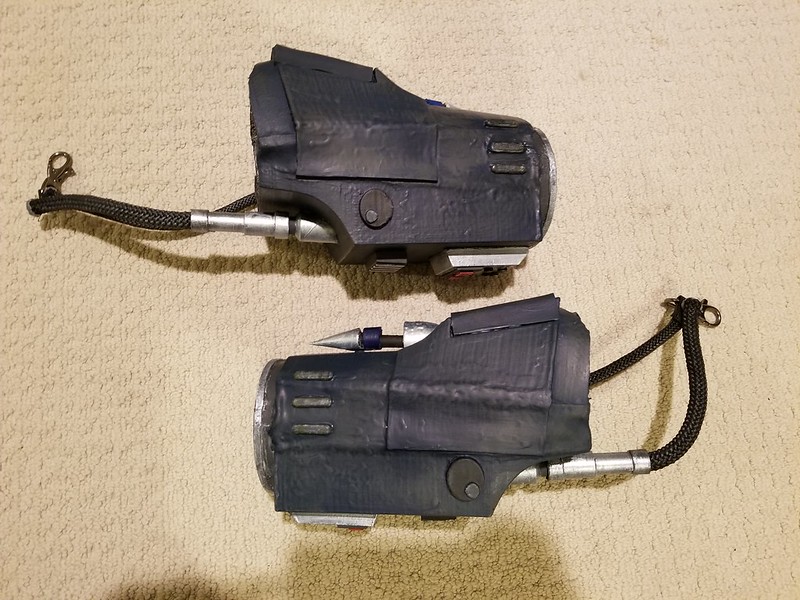
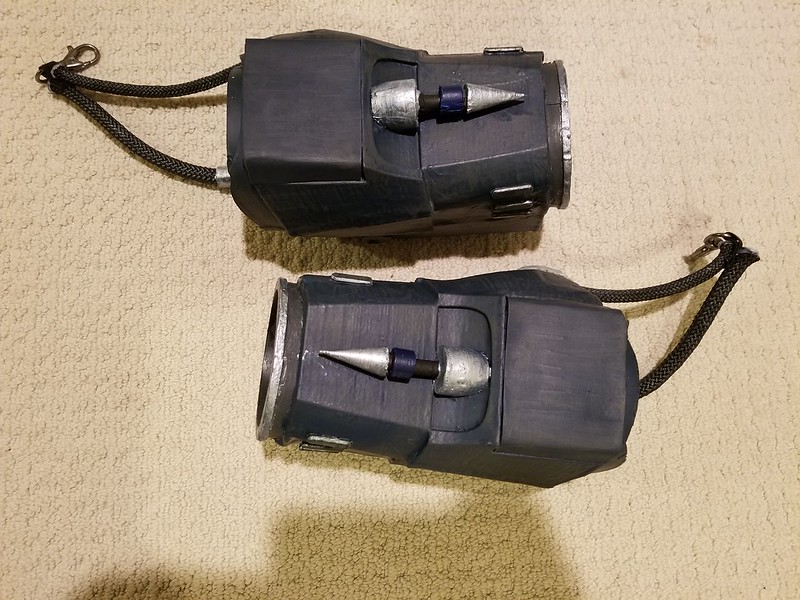
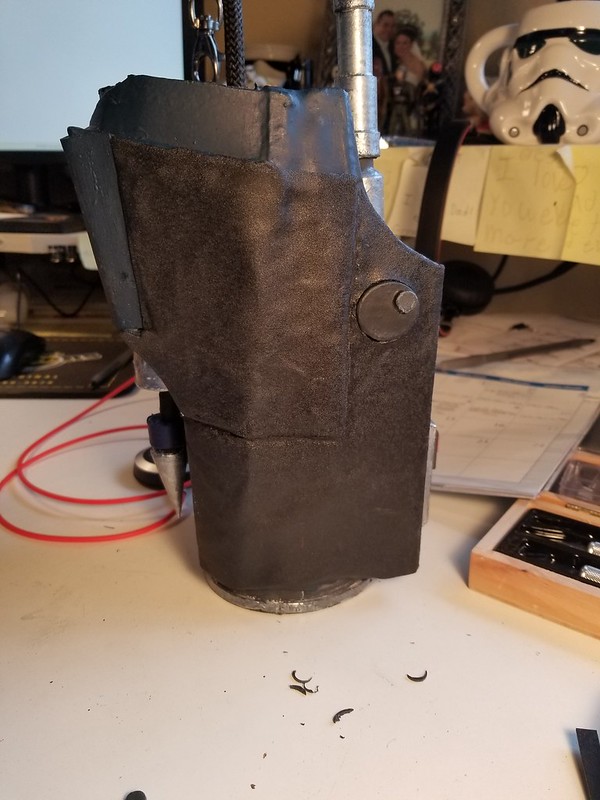
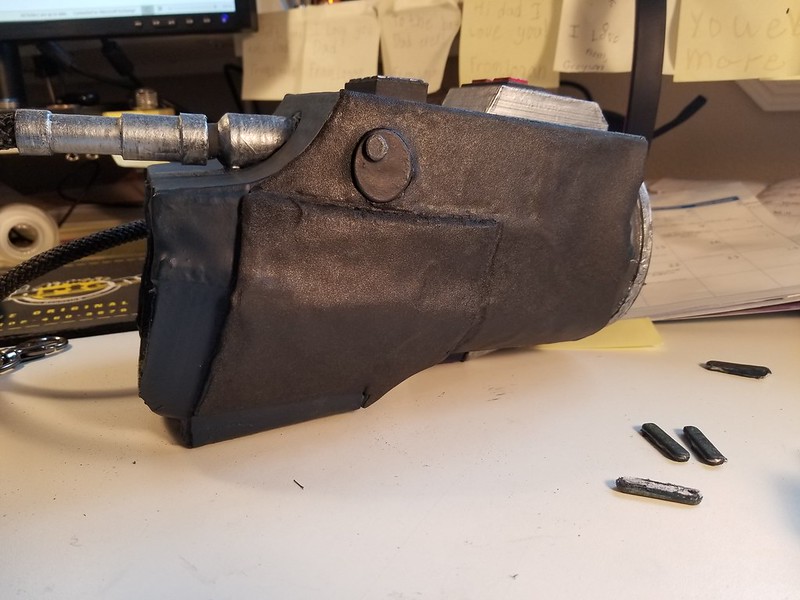
So, I now have this!
 20180208_153942
 by
Michael Halstead, on Flickr
 20180208_153948
 by
Michael Halstead, on Flickr
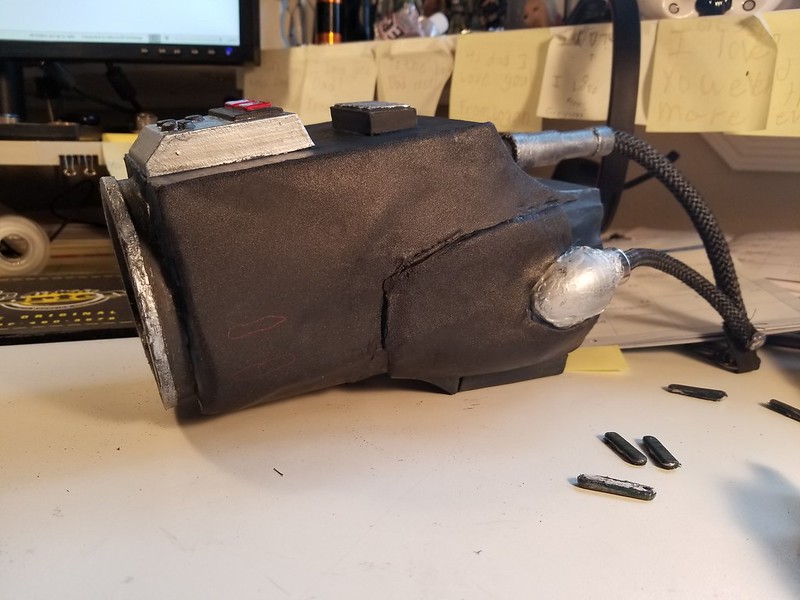
And then started on the other gaunt:
 20180208_152417
 by
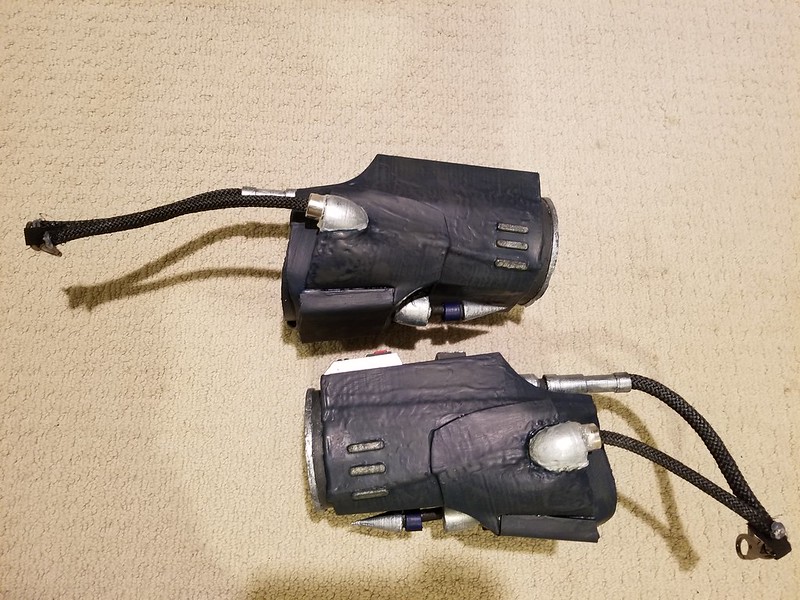
Michael Halstead, on Flickr
It was at this point that I ran out of worbla, so I was half a gaunt short. More worbla is on order so I am hopeful to get this one done and then I can reinstall the electroshock emitters and get started on painting it.
I am now hopeful that this will be the answer. Please let me know what you think!


