It’s been about a year since I used my special talent at costume dissection, but let’s see if I can shake the dust off of it. To do this, I plan to use the pictures of Kylo Ren from the new movie coming out this December.
As always, if I miss a detail or something, please let me know. If you have a picture contradicting something I’ve written, same thing. I’m always looking to do better and I look to you all to help me make the details right for those who want to do the costume and/or write the CRL.
And fear not, this will not just be a WALL-O-TEXT™. I will be adding pictures as I fine tune it in the coming days. As I get things purchased and get them built, I’ll be updating it. I like this character, even though I know nothing about him other than he can breathe in his helmet (see below)!!!
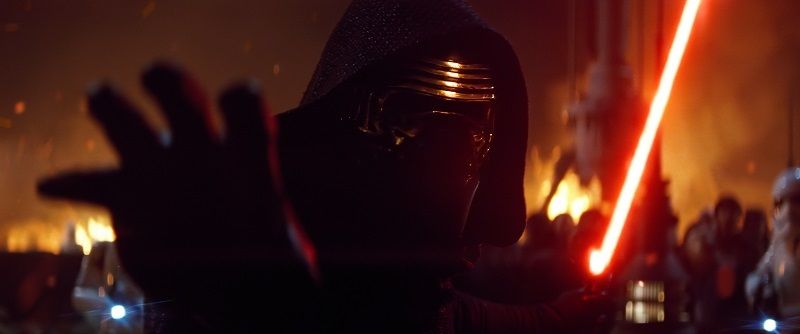
HELMET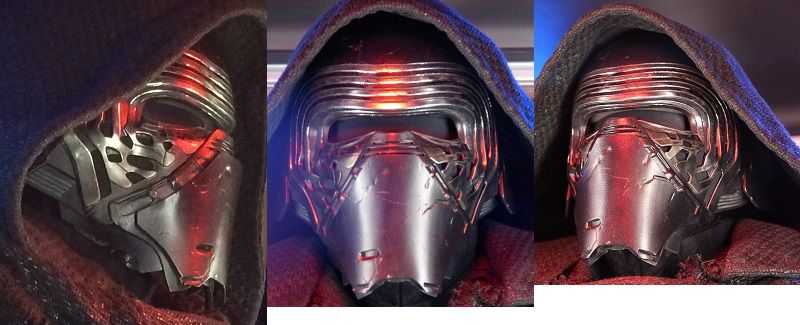
There’s not much I can say about the helmet that hasn’t already been covered a million times on other sites. It looks to be 3D printed or pepakura built. It is a full helmet, not just a mask, and that is one detail that most people didn’t fully get until the Celebration display.
Of special interest is that the raised face details do more than just add flair to the helmet. If you look closely at the cheeks of the helmet, you will see the holes in the face detail hide the same black-out cloth that covers the eye hole. That’s right, this helmet is something you can breathe in.
I will be building the helmet using pepakura with the raised details being 2mm sintra. Some of the smaller details I will also be using the 1mm sintra for (such as the vent looking things on the sides).
INNER TUNIC SLEEVES AND DOUBLET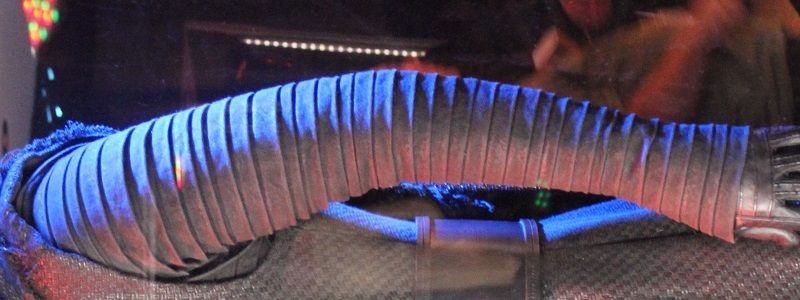
After reviewing several pictures of the exhibit, I have come to the conclusion that I will be doing both the inner tunic and doublet as one piece. I will also be doing it with a twist I learned costuming as both Vader and Nihilus.
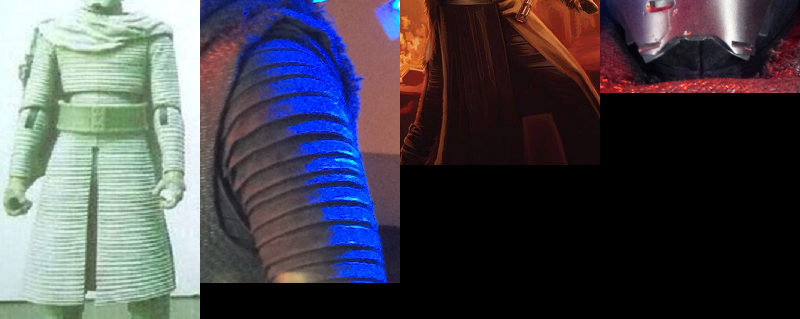
The inner tunic sleeves will be made using the 38 flaps. Based on the measurements of my arm (31”), I have determined that the visible length of the flaps is 7/8” long, since there are a couple that don’t look the same size. I’ll double that underneath of them for 1-1/2” for the sew-down. Rather than line it, I’ll just use my underarmor rather than add more layers (to keep it cooler). The skirt will be done in a similar manner since it is made using the same cotton of the arms with the same folds.
It will be sewn directly to the doublet under the sleeve much in the way as the faux inner sleeve of a Darth Nihilus; sewn not at the point of the sleeve, but back at the top of the shoulder. It will also feature a separated locking zipper that zips from the wrist to the armpit. I guess this means there are zippers in Star Wars (besides Luke zipping up his orange coverall in TESB).
For the doublet, I’ll be using Simplicity 4095 as a base. I plan to modify it by adding a zipper up the front rather than buttons. Other than that, I also plan to add a yolk with Imperial Officer-style collar and a “yolk” around the arm holes. Except for the skirt, it will be made out of a nice moisture-wicking material. The skirt and yolks will be made using the horizontal-tucked wool that is visible through the arm and neck.
SURCOAT, HOOD, AND SHAWL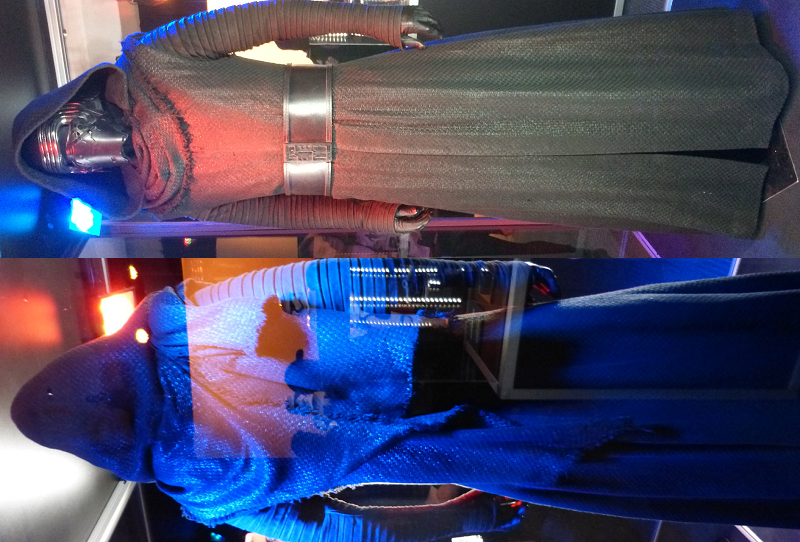
For the surcoat, I’ll be using a modified version of the Simplicity 4795 pattern. Specifically, I’ll be using piece number 1 with a flat shoulder and cut waist length. The 4-panel skirt will be made square and pleated at the waist seam, since the pattern of the material is straight all the way down. I will also be including a separated zipper up the left side of the body and a closed zipper just behind the neck to make the opening smart around the collar. The waist of the surcoat will also include the wool lining that isn’t sewn down to the surcoat.
The hood is part of the shawl, not the surcoat. The hood is identical to a Jedi robe hood and I’ll be putting a piece of plastic canvas in the front edge so it sits right when it’s up. Additionally, I’ll add a small magnet pocket inside so it sticks to the helmet regardless of how I turn my head (nothing’s worse than having to continually pull your hood up).
The appearance of the cape looks quite like a Ranger cloak from Destiny. I’ll have to whip up some test builds to make sure it hangs right, but there are patterns in the Destiny costuming community (once I find them). Oh, and the edge of the shawl is frayed. There is also a fully visible seam where the hood connects to it.
GLOVES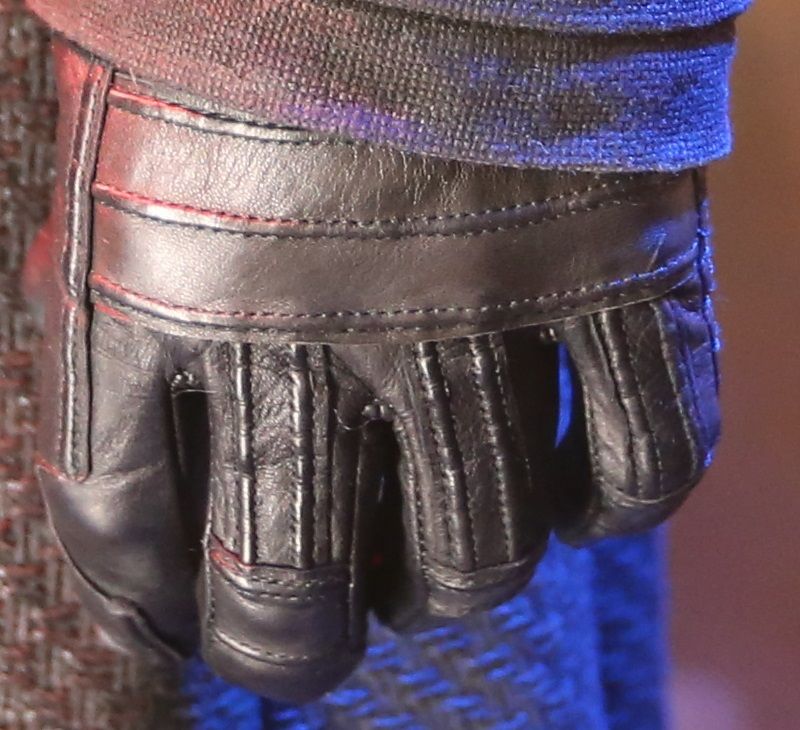
I’m looking into giving a local glove-maker some pictures of these gloves and asking them to make me up a set. I have yet to find anything that looks even close to these gloves (that weren’t hand-made by Amidala). However, I’ll still keep my feelers out there in case they were a purchased item.
BELT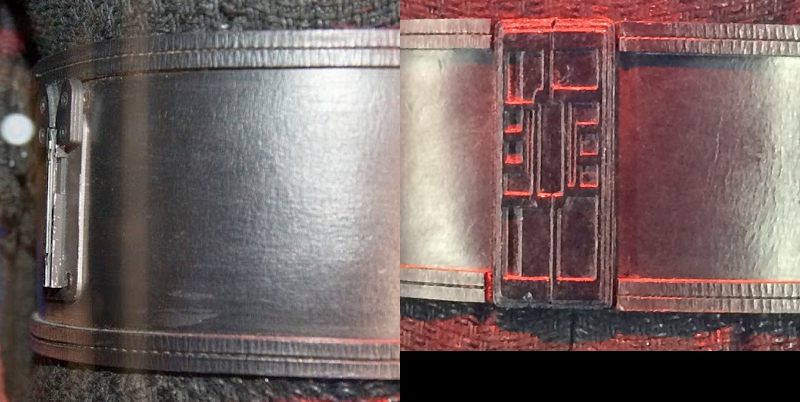
The belt is 5” wide with a pair of 1/2” wide top-stitched straps. The belt closes in the front with Velcro that I’ll just sew down to the straps and epoxy under the belt.
The buckle will be layered sintra that’s 5” high, 2-1/4” wide, and 3/8” thick. It will Velcro to the exposed strap that closes the belt.
The lightsaber clip is the female connector for a stanchion queue barrier or tensabarrier. It is built into a small setup with a pair of teardrop guides to put the lightsaber into the cradle. The base of the clip is 3” high and I’ll Chicago screw it all down to the belt.
TROUSERSThe trousers will be a purchased item. They are denim trousers, but not jeans. I’m hoping to find something at a local Goodwill, but will probably get them online.
BOOTS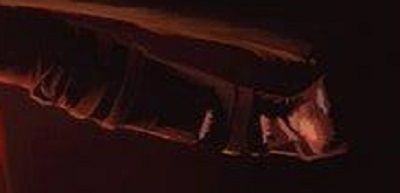
The boots look to have a separation between the actual boot and the leg. For this reason, I believe they are similar in design to the Imperial boots in Star Wars Rebels. My boots will be a pair of paddock boots with a half-chap over them.
There are four 1” straps around the leg of the boot, two on the bottom and two on the top. I’ll most likely connect them with snaps around the proper point until clearer shots can be seen.
LIGHTSABERThe base for the cross-guard lightsaber will be a purchased item from a saber maker. I’ll custom build the detailed shroud over it using PVC pipes and wires. It will be interesting to build, especially because of the number of details on the main body. I had considered 3D printing it, but I think building it will give it a better feel. Additionally, it will feature the male end of the stanchion queue barrier or tensabarrier, so I can wear it on my belt when at a “no weapons” troop.


