So, I hadn't built anything in like a day, so I was itching to start another project. Have a few lined up but grabbed the one I wanted to do the most, because, goals... IG-88 intrigues me because he's a bounty hunter, has a very minimal amount of screen time, looks pretty cool, and seems like a fun project to do. To say there is not a lot of reference material on this guy would be correct, but since I'm not building a costume, and it doesn't need approval, I suppose I just need to do the best I can. At this point, I'm not certain if I'm doing the whole build, body and all, or just doing the head and stopping there.
Here's one of the best reference images I can find.
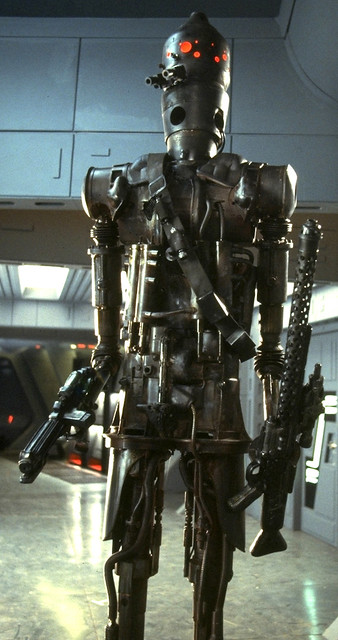 IG-88
IG-88 by
Michael Halstead, on Flickr
Found a few more in an old book from Powell's this weekend and found a few build logs that are out there, but they seem to disagree on certain parts, so for now, I'm just going to focus on the head. I'd really like to bring this prop to the garrison, so if anybody out there has any ideas, tools, resources, or heck, even a "can do" attitude and some moxy, then your assistance would be greatly appreciated.
One general consensus that I have found is that the droid stands about 7'6" when fully assembled and in ESB, his feet aren't shown (because they didn't build him feet) and he is down a step during the bounty hunter scene. This means that if we make a whole stand up prop, body and all, I think it would need to be able to be broken down into lower legs, torso, arms, and head, so that it can be stored when not on display. But anyway, those are problems and discussions for another day.
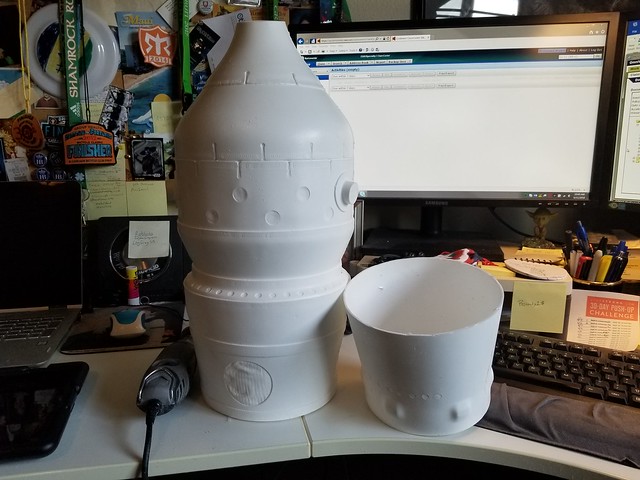
I picked up the head from Docking Bay Outfitters. The original head was a Rolls Royce Derwent engine combustion chamber from a Glouscester Meteor, a British jet from the 40's and 50's. Thankfully, this one is a cast of it because I think weight is going to play an important part in this build.
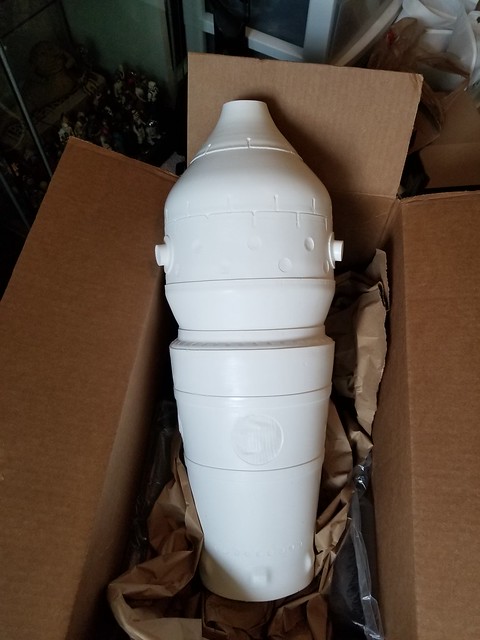 20180610_161911
 by
Michael Halstead, on Flickr
So, here's about all the reference material I have to start with...
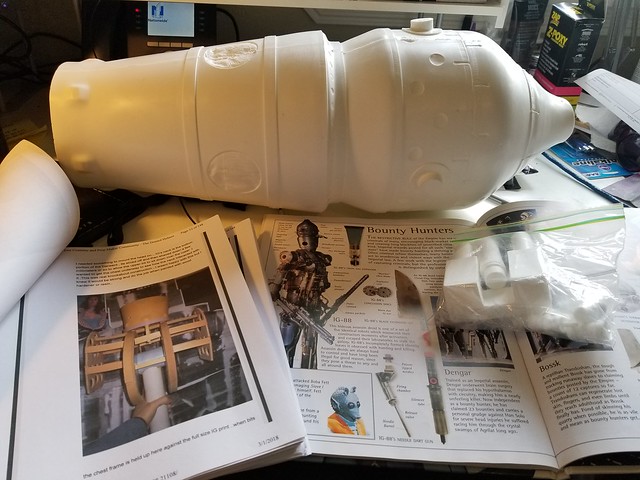 20180611_102208
 by
Michael Halstead, on Flickr
His neck is actually the lower portion of the Derwent, so first thing is cutting it into pieces:
 20180611_103309
 by
Michael Halstead, on Flickr
Now I have a neck and a head, and a very messy office. All additional Dremel work was completed in the garage. Lesson learned...
 20180611_104007
 by
Michael Halstead, on Flickr
Then, I marked out what areas needed to be holes.
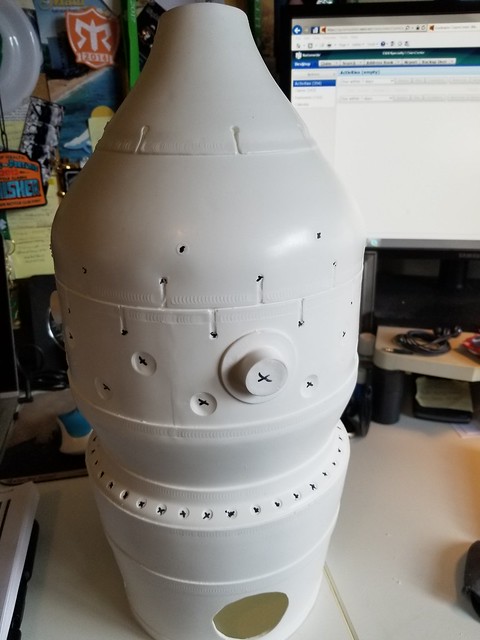 20180611_111908
 by
Michael Halstead, on Flickr
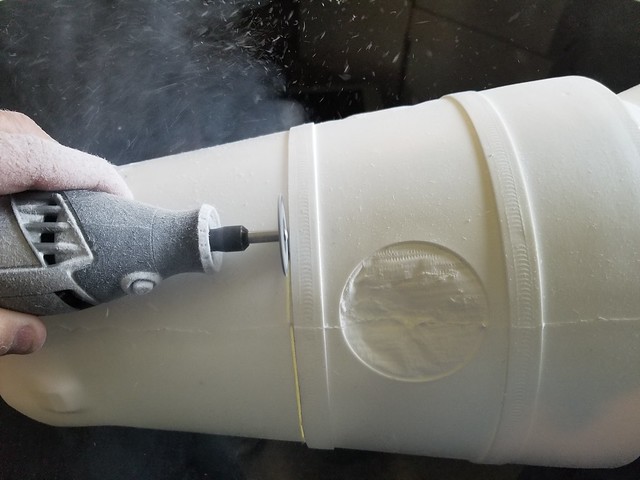
Side note, here is an example of why you wear a mask when using your Dremel.
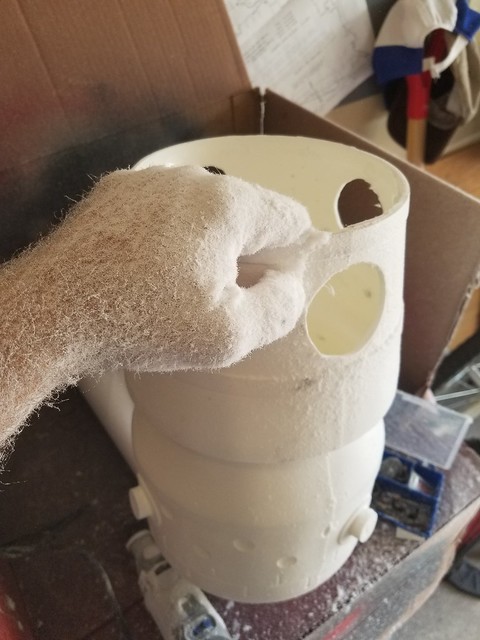 20180611_110132
 by
Michael Halstead, on Flickr
So, I cut all the holes I need, and then reviewed a second build log. I may have been a bit exuberant and cut a few too many. Well, the two build logs don't agree on which ones to cut! So, I may need to fill a few of them in the future.
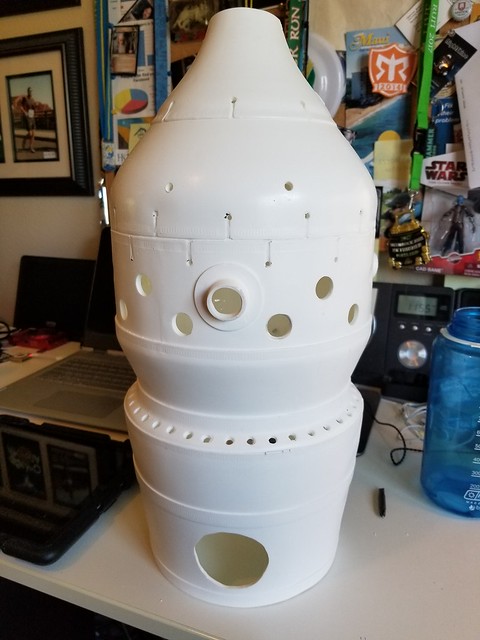 20180611_150546
 by
Michael Halstead, on Flickr
I paid extra for the kit I bought so that the greeblies would be included. The part I'm holding in my hand is his eyes... I think...
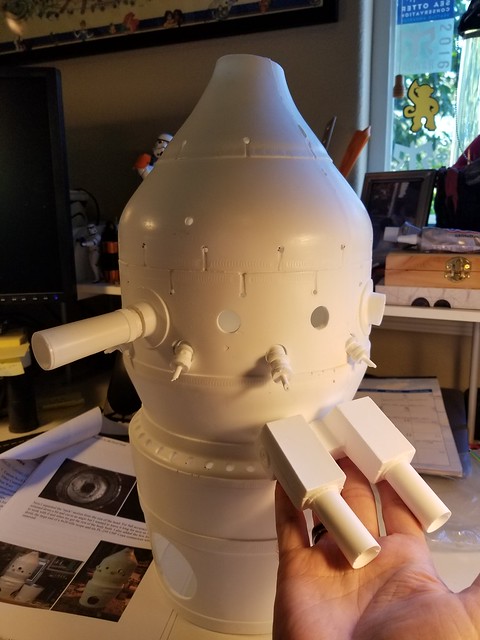 20180611_160635
 by
Michael Halstead, on Flickr
Upon dry fitting them and inspecting the pieces more closely, I decided that I would order replacements for the 6 UHF PL-259 connector plugs. They came out all right, but to have the sharpness that can only come with metal seems like a good call this early in the build. The rest of the pieces seem fine but I'll have to figure out how to attach the eyes to the head.
Anyway, this will be a very slow build and may only be comprised of the head. I don't know. We'll see how motivated I am one I get the head done and lit up. May just be an expensive lamp if I don't keep going!


