Hello all! A few weeks ago, I shared a picture of a Wampa on the FB page and several people said that I should make one. Well, I thought about it and started researching it and decided to give it a go.
I started acquiring parts:
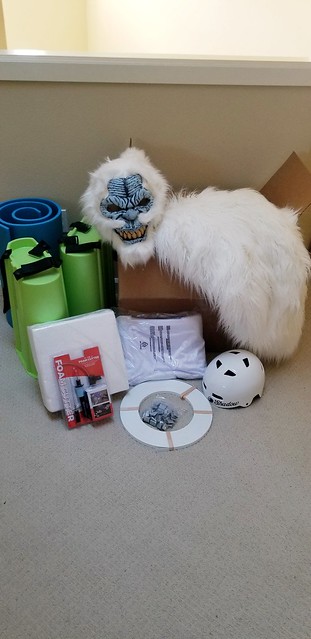 20181018_151906
 by
Michael Halstead, on Flickr
Bear with me on that mask, I have an idea, but it will come in a future note (after I start working on it and see if it works!).
I started working on the feet:
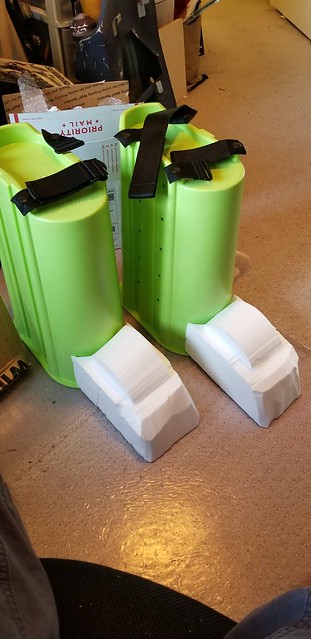 20181018_161034
 by
Michael Halstead, on Flickr
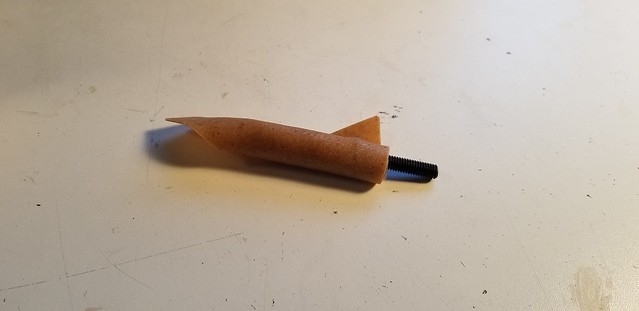
And made the claws out of worbla attached to a bolt so I can remove them from the feet if they break:
 20181018_173047
 by
Michael Halstead, on Flickr
 20181018_173250
 by
Michael Halstead, on Flickr
 20181018_191749
 by
Michael Halstead, on Flickr
Then, I ran into a little roadblock. The styrofoam for the front of the feet would be lightweight but wouldn't be very durable. I'm researching options to make that part out of plastic, so I put the feet aside for now.
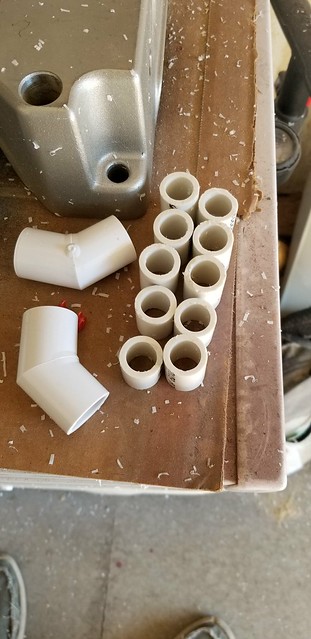
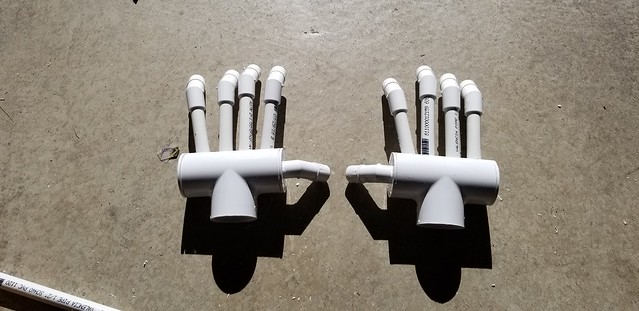
And moved on to the arms. I started with this pile of parts. I see two hands and forearms in there, don't you?
 20181019_110208
 by
Michael Halstead, on Flickr
So, I got to work:
 20181019_113634
 by
Michael Halstead, on Flickr
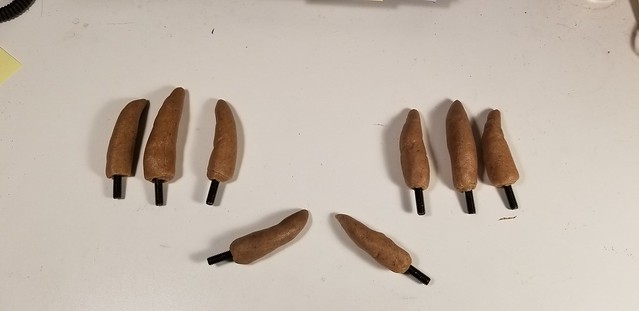
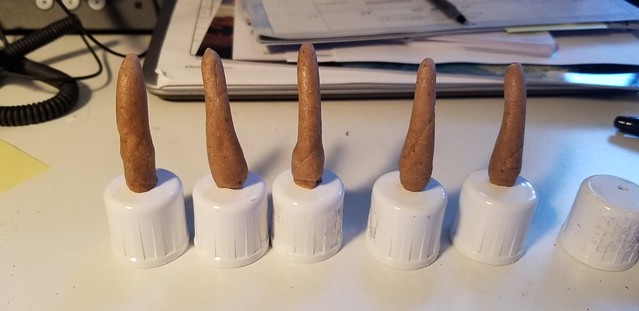
Finger tips:
 20181019_114350
 by
Michael Halstead, on Flickr
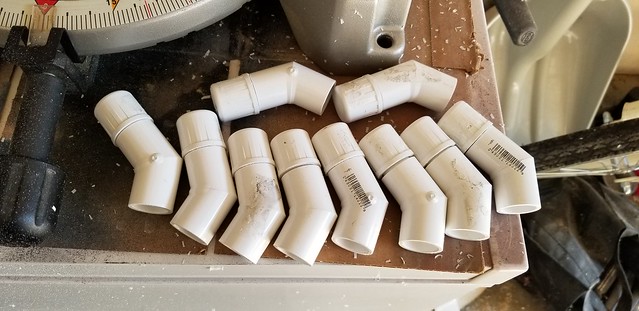
Fingers:
 20181019_115542
 by
Michael Halstead, on Flickr
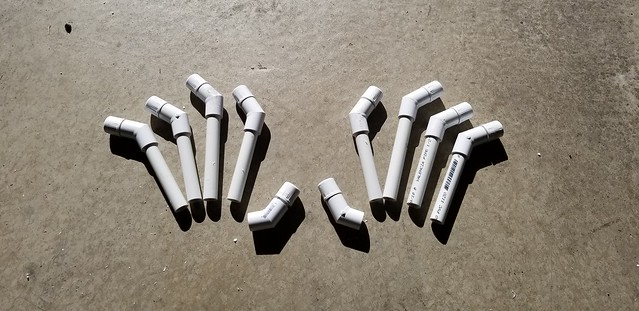
Attached to the hand:
 20181019_125332
 by
Michael Halstead, on Flickr
Secured so they won't fall out:
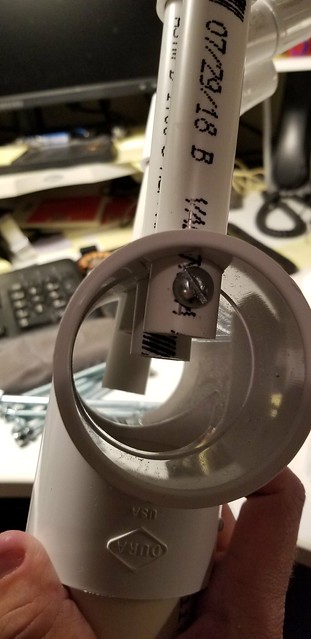 20181019_192256
 by
Michael Halstead, on Flickr
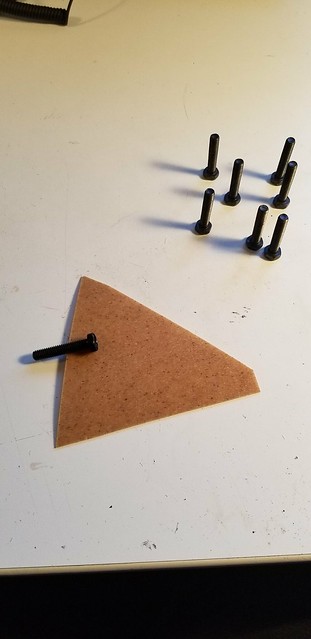
Then, I made claws out of worbla:
 20181020_161907
 by
Michael Halstead, on Flickr
And had the basic skeletal structure:
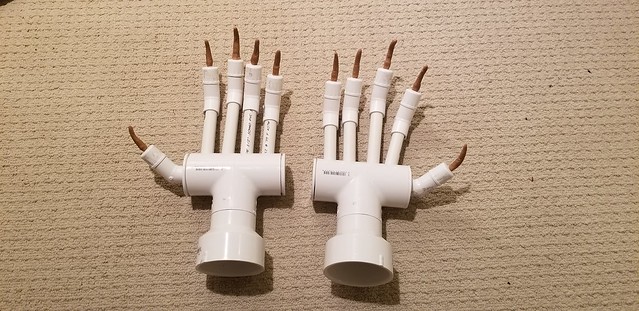 20181020_223037
 by
Michael Halstead, on Flickr
I added these bars for handles. This will be where I grab them, as you can see, they will make my arms much longer, as needed for the costume.
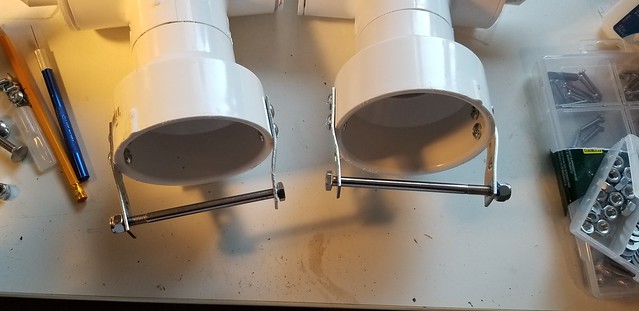 20181021_165740
 by
Michael Halstead, on Flickr
Then, I added PVC pipe to add stability so that the hands aren't flopping all over the place:
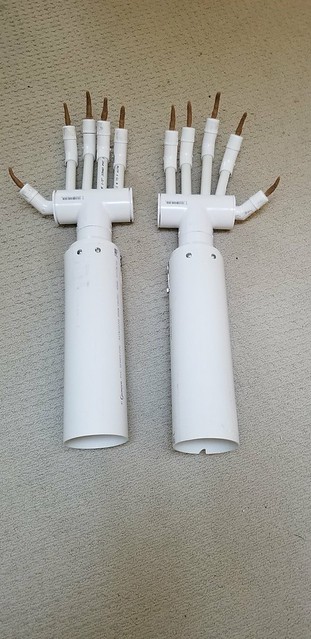 20181022_120302
 by
Michael Halstead, on Flickr
But, I needed something to adhere the fur to. So, I built a "flesh" layer out of worbla:
 20181022_143403
 by
Michael Halstead, on Flickr
 20181022_143412
 by
Michael Halstead, on Flickr
And then used Styrofoam to build the palm and finger pads:
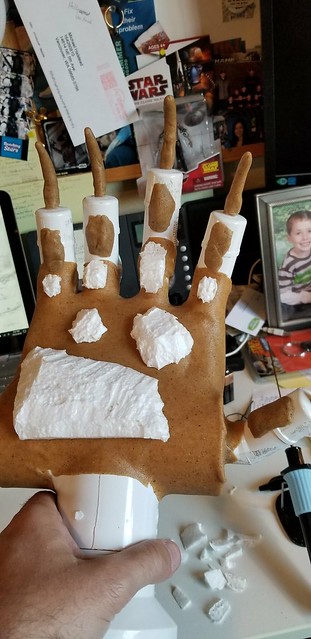 20181022_162752
 by
Michael Halstead, on Flickr
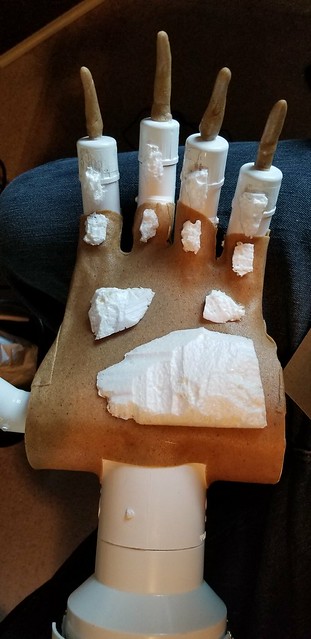 20181022_172744
 by
Michael Halstead, on Flickr
Then, I put worbla over that to make the final skin layer.
 20181022_182026
 by
Michael Halstead, on Flickr
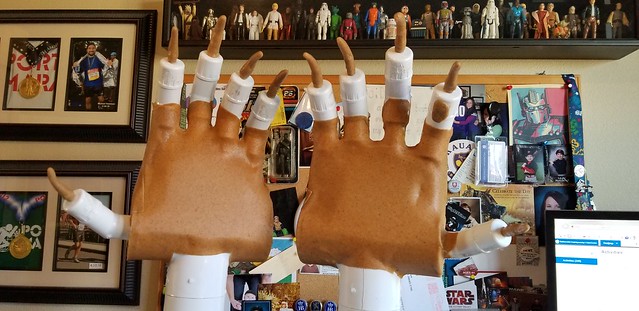
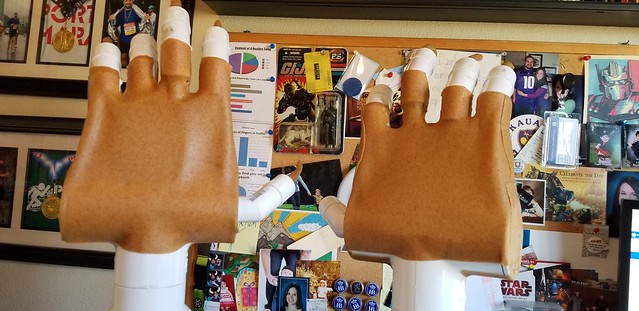
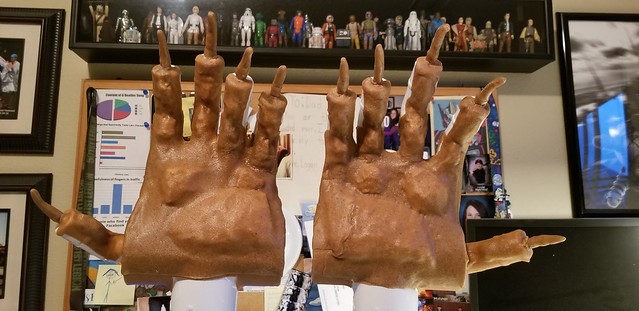
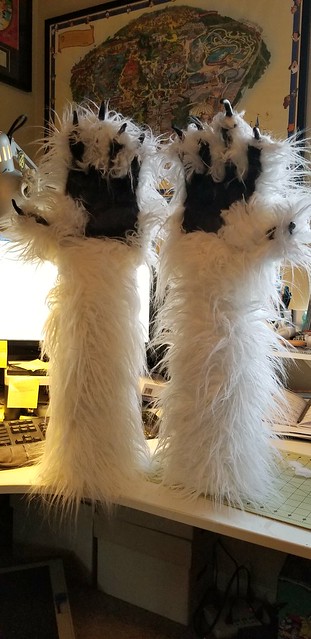
I then painted the claws and the palm black, with some charcoal and grey accents, but didn't take a picture. Then, I added the fur. May need a haircut in a few places at some point, but I'm really happy with them at this time.
 20181023_154313
 by
Michael Halstead, on Flickr
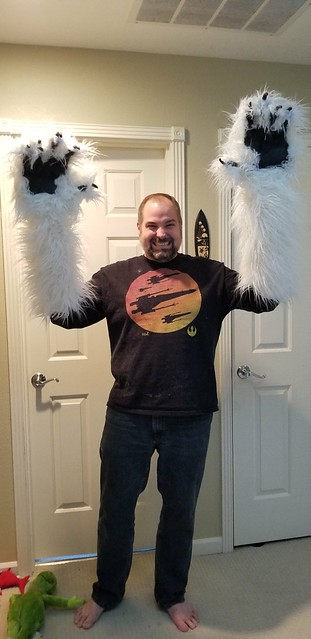 20181023_154942
 by
Michael Halstead, on Flickr
May start on the feet or the head next... Or maybe the lower legs... Or the upper body padding... Perhaps the under suit thing... Have a lot to do, but I'm excited by the progress I've made in the last week!


